 03-配置vuepress插件
一个具有强大功能的 vuepress 主题仓库✨ (opens new window)
在vuepress或者vdoing主题项目中,其实已经内置了一些第三方插件,比如百度统计,第三方搜索,代码块一件复制,评论区等等。
想看用了什么插件,看package.json就可以。以下是我的安装的一些依赖
  "devDependencies": {
    "dayjs": "^1.9.7",
    "inquirer": "^7.1.0",
    "json2yaml": "^1.1.0",
    "vuepress": "1.8.0",
    "vuepress-plugin-baidu-autopush": "^1.0.1",
    "vuepress-plugin-baidu-tongji": "^1.0.1",
    "vuepress-plugin-demo-block": "^0.7.2",
    "vuepress-plugin-one-click-copy": "^1.0.2",
    "vuepress-plugin-thirdparty-search": "^1.0.2",
    "vuepress-plugin-zooming": "^1.1.7",
    "vuepress-theme-vdoing": "^1.8.1",
    "yamljs": "^0.3.0"
  },
  "dependencies": {
    "busuanzi.pure.js": "^1.0.3",
    "valine": "^1.4.14",
    "vuepress-plugin-comment": "^0.7.3"
  }
2
3
4
5
6
7
8
9
10
11
12
13
14
15
16
17
18
19
我的博客:https://wggz.top (opens new window)
# 不蒜子 - 页脚统计
VuePress添加不蒜子插件(一个网页计数器)
# 1. 添加依赖
- yarn安装
yarn add busuanzi.pure.js
- npm安装
npm install busuanzi.pure.js --save
# 2. 修改meta
在 head.js 中添加,写法如下:
['meta', {name: 'referrer', content: 'no-referrer-when-downgrade'}],
在 Chrome 85 版本中,为了保护用户的隐私,默认的 Referrer Policy 则变成了 strict-origin-when-cross-origin
所以必须加入此部分代码,否则文章统计访问量的数据则不正确
# 3. 代码
在本地主题的Components文件夹中,新建Busuanzi.vue文件
<template>
<div class="busuanzi">
<span id="busuanzi_container_site_pv" style="display:none">
总访问量
<span id="busuanzi_value_site_pv"></span>次
<span class="post-meta-divider">|</span>
</span>
<span id="busuanzi_container_site_uv" style="display:none">
您是第
<span id="busuanzi_value_site_uv"></span>位访客
</span>
</div>
</template>
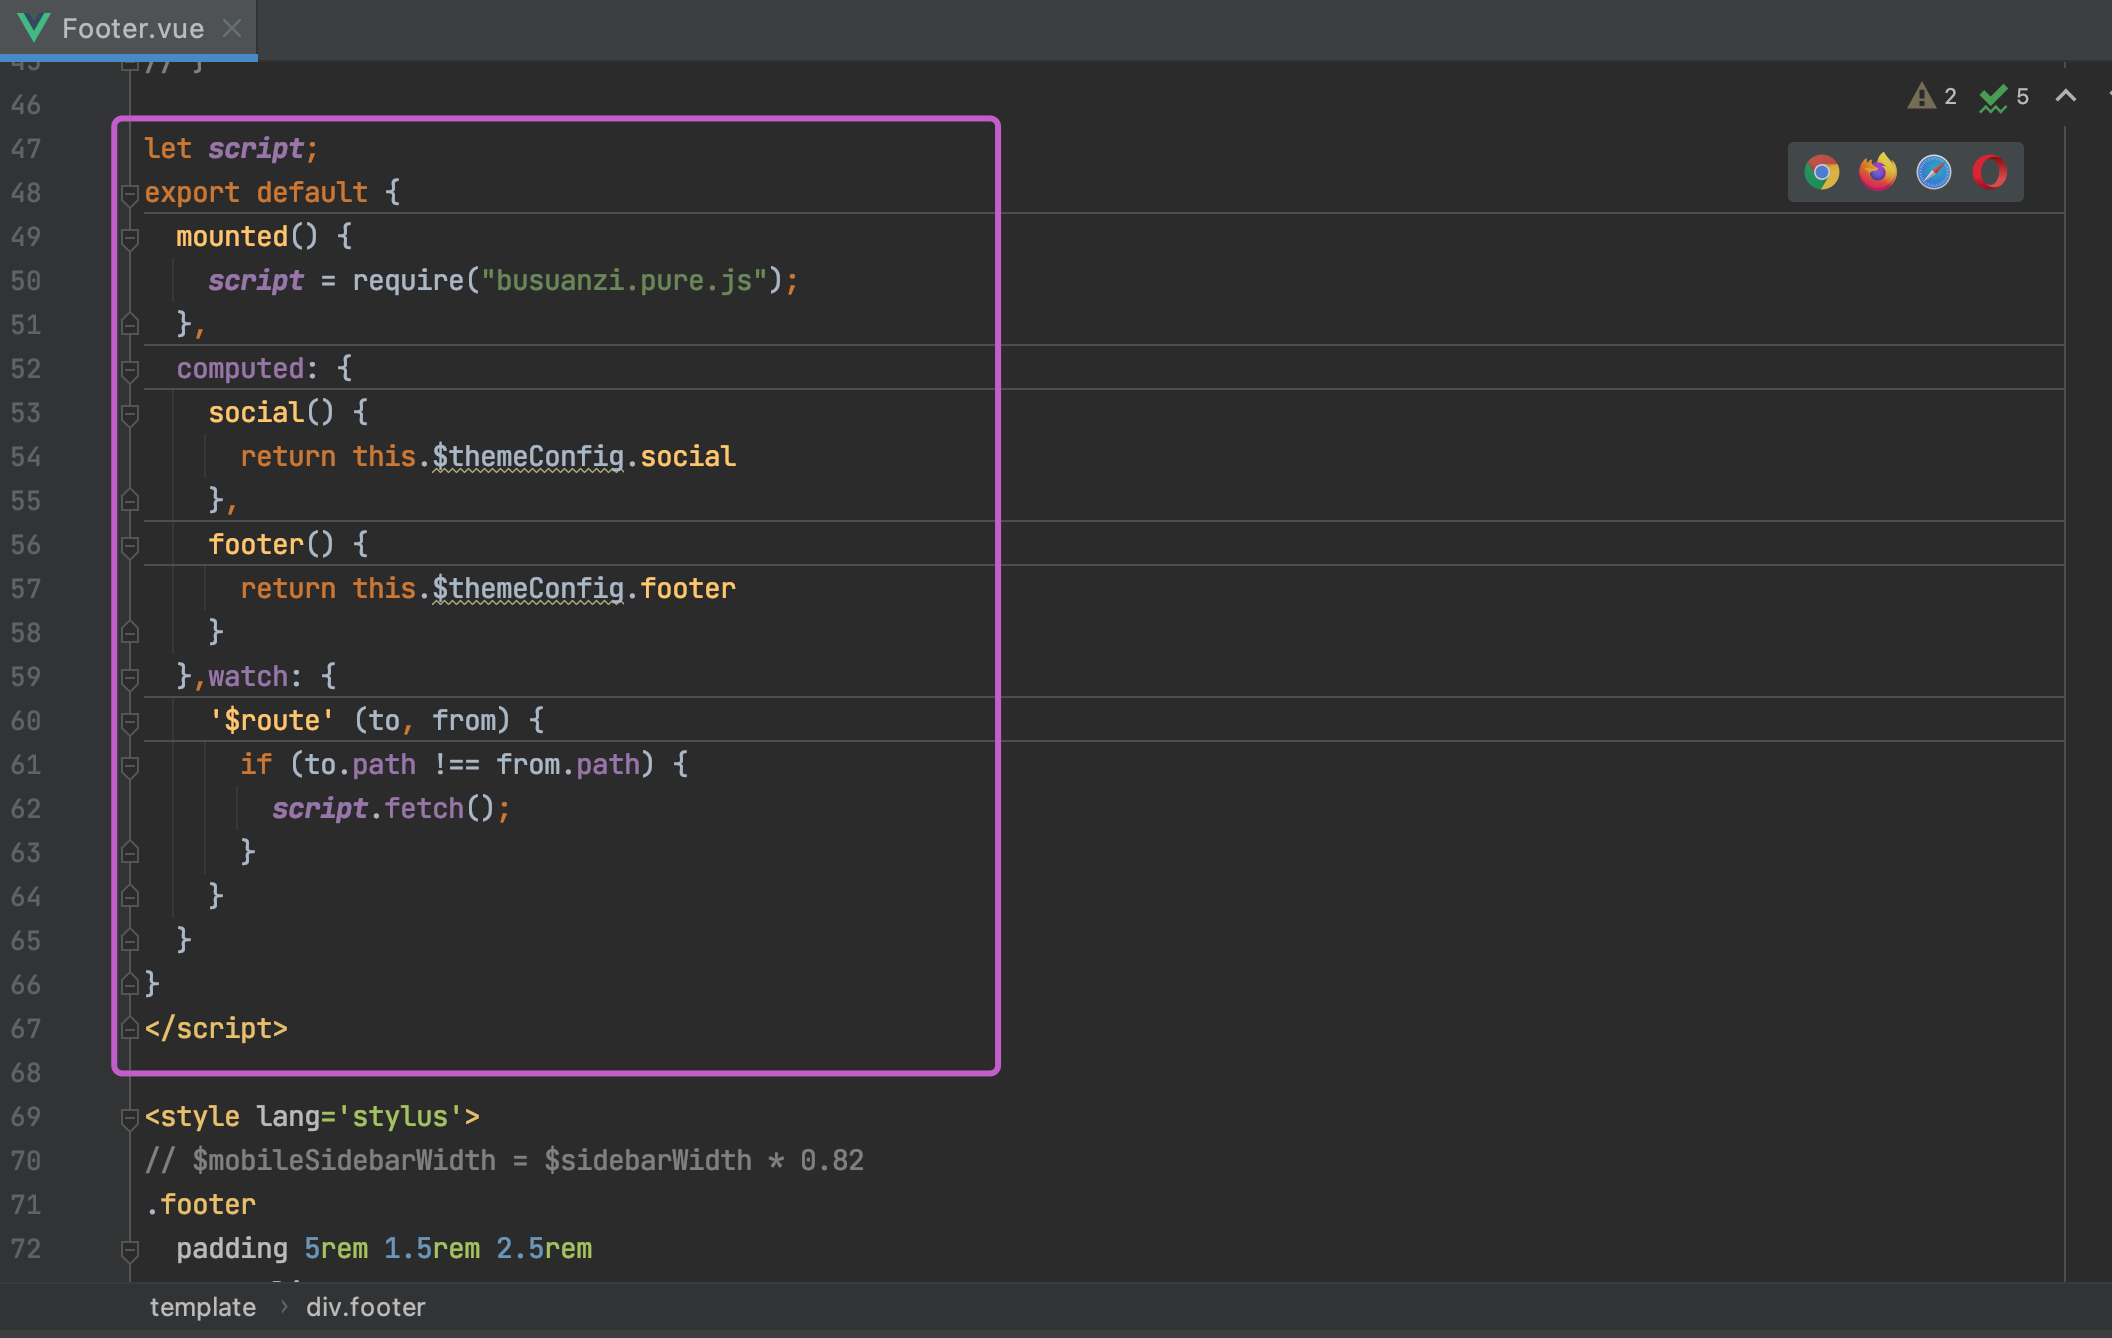
<script>
let script;
export default {
mounted() {
script = require("busuanzi.pure.js");
},
// 监听,当路由发生变化的时候执行
watch: {
$route(to, from) {
if (to.path != from.path) {
script.fetch();
}
// console.log(to.path);
}
}
};
</script>
2
3
4
5
6
7
8
9
10
11
12
13
14
15
16
17
18
19
20
21
22
23
24
25
26
27
28
29
30
31
32
# 4. 修改Footer.vue文件

完事儿~
效果

# 不蒜子 - 页面pv统计
ArticleInfo.vue添加如下代码,替换掉原先的阅读量统计代码
<div
    id="busuanzi_container_site_pv"
    class="icon iconfont icon-eye"
    title="浏览量"
>
    <span id="busuanzi_value_page_pv"></span>
</div>
2
3
4
5
6
7
在.vuepress中的themeConfig.js中,配置
  isShowReadTime: true, // 是否展示阅读时间
  // wordsPerMinute: 100, // 每分钟阅读的字数 默认是 300
  // isShowReadCount: true, // 是否开启阅读量统计
2
3
效果

# 鼠标点击爱心
基本上,下载vdoing这个主题,都会自带这个插件,不过作者没有开启

我们把它开启即可,很简单
plugins.js中,添加如下代码
  [require('../plugins/love-me'), { // 鼠标点击爱心特效
    color: '#fb7299', // 爱心颜色,默认随机色
    excludeClassName: 'theme-vdoing-content' // 要排除元素的class, 默认空''
  }],
2
3
4
# 阅读时间/阅读量
创建如下

index.js
const readingTime = require('./read-time')

const readingTimePlugin = (options, context) => {
  return {
    name: "reading-time",
    extendPageData($page){
      $page.readingTime = readingTime(
        $page._strippedContent,
        options.wordsPerMinute || context.themeConfig.wordsPerMinute || 300
      );
    },
  };
};

module.exports = readingTimePlugin;
2
3
4
5
6
7
8
9
10
11
12
13
14
15
16
read-time.js
// see:https://github.com/vuepress-theme-hope/vuepress-theme-hope/tree/v1/packages/reading-time

// 匹配所有的英文单词
const getWords = (data) =>
  data.match(/[\w\d\s\u00C0-\u024F]+/giu) || [];

// 匹配中文
const getChinese = (data) =>
  data.match(/[\u4E00-\u9FA5]/gu) || [];


const getWordNumber = (data) =>
  getWords(data).reduce(
    (accumulator, word) =>
      accumulator + (word.trim() === "" ? 0 : word.trim().split(/\s+/u).length),
    0
  ) + getChinese(data).length;

// data -> 插件函数上下文提供的页面的元数据
// wordsPerMinute 配置项 每分钟读取多少字 默认是300
const readingTime = (
  data,
  wordsPerMinute = 300
) => {
  debugger
  const words = getWordNumber(data || "");

  return {
    minutes: Math.round(words / wordsPerMinute ),
    words,
  };
};

module.exports = readingTime
2
3
4
5
6
7
8
9
10
11
12
13
14
15
16
17
18
19
20
21
22
23
24
25
26
27
28
29
30
31
32
33
34
35
plugins.js中添加
[require('../plugins/read')], // 阅读时间插件
themeConfig.js中添加
  isShowReadTime: true, // 是否展示阅读时间
  // wordsPerMinute: 100, // 每分钟阅读的字数 默认是 300
  isShowReadCount: true, // 是否开启阅读量统计
2
3
效果

# Gitalk评论插件
Gitalk实现静态博客无后台评论系统
Gitalk demo (opens new window) | Gitalk github (opens new window) | 官方文档 (opens new window)
使用一个别人已经开发好的 vuepress-plugin-comment (opens new window)插件来帮助我们把Gitalk应用到vuepress搭建的静态博客。
如果下载的是vdoing主题项目,那么就不用操心了。只需要去Github申请到Client ID 和 Client Secret。替换到原先作者的Client ID,Client Secret,仓库名称等信息就可以了
# 1. 安装
npm install --save vuepress-plugin-comment
# 2. 使用
options的配置和Gitalk的配置相同
module.exports = {
  plugins: [
    [
      'vuepress-plugin-comment',
      {
        choosen: 'gitalk',
        options: {
          clientID: 'GitHub Application Client ID',
          clientSecret: 'GitHub Application Client Secret',
          repo: 'GitHub repo',
          owner: 'GitHub repo owner',
          admin: ['GitHub repo owner and collaborators, only these guys can initialize github issues'],
          distractionFreeMode: false
        }
      }
    ]
  ]
}
2
3
4
5
6
7
8
9
10
11
12
13
14
15
16
17
18
需要 GitHub Application,如果没有 点击这里申请 (opens new window),Authorization callback URL 填写当前使用插件页面的域名。

申请完成就会得 Client ID 和 Client Secret。然后把对应参数填写到配置中,例:
module.exports = {
  plugins: [
    [
      'vuepress-plugin-comment',
      {
        choosen: 'gitalk',
        options: {
          clientID: 'a6e*******4709b88b',
          clientSecret: 'f0e***************beb8b2d54d7241',
          repo: 'blog', // GitHub 仓库
          owner: 'xugaoyi', // GitHub仓库所有者
          admin: ['xugaoyi'], // 对仓库有写权限的人
          distractionFreeMode: false
        }
      }
    ]
  ]
}
2
3
4
5
6
7
8
9
10
11
12
13
14
15
16
17
18
配置好之后重启项目就发现页面上多了一个评论区,说明评论功能实现啦。但还是有一些bug,继续完善它~
# 3. BUG修复
评论区与博客样式不匹配
解决办法:新增全局样式文件.vuepress/styles/index.styl,写入样式
#vuepress-plugin-comment
  max-width $contentWidth
  margin 0 auto
  padding 2rem 2.5rem
  @media (max-width: $MQNarrow)
    padding 2rem
  @media (max-width: $MQMobileNarrow)
    padding 1.5rem
2
3
4
5
6
7
8
评论区出现 Error: Validation Failed.
问题分析:当页面 链接过长 或 存在中文链接,导致整个链接字符串长度超过50时,会造成请求issues接口失败,出现422状态码。(中文链接会自动转码,变得很长,id参数默认取的是链接,长度不能超过50)
解决办法:手动设置id取值,限制长度不超过50。
{
 choosen: 'gitalk',
 options: {
   ...
   id: "<%- (window.location.origin + (frontmatter.to.path || window.location.pathname)).slice(-50) %>", //  页面的唯一标识,长度不能超过50
   title: "「评论」<%- document.title %>", // GitHub issue 的标题
   labels: ["Gitalk", "Comment"], // GitHub issue 的标签
   body:"<%- document.title %>:<%- window.location.origin + (frontmatter.to.path || window.location.pathname) %>" // GitHub issue 的内容
 }
}
2
3
4
5
6
7
8
9
10
访问变量时,如
$frontmatter或window等,请使用 EJS 语法。因为在配置中不能使用回调函数,会被vuepress过滤,因此使用 EJS 语法。 ——插件作者文档说明
切换页面后评论区内容还是上一个页面的评论
解决:id在获取path时使用 frontmatter.to.path,插件内置了 ``frontmatter.from、frontmatter.to`。
{
 choosen: 'gitalk',
 options: {
   ...
   id: "<%- (window.location.origin + (frontmatter.to.path || window.location.pathname)).slice(-50) %>", //  页面的唯一标识,长度不能超过50
   title: "「评论」<%- document.title %>", // GitHub issue 的标题
   labels: ["Gitalk", "Comment"], // GitHub issue 的标签
   body:"<%- document.title %>:<%- window.location.origin + (frontmatter.to.path || window.location.pathname) %>" // GitHub issue 的内容
 }
}
2
3
4
5
6
7
8
9
10
参考:使用Gitalk实现静态博客无后台评论系统 (opens new window)
# 百度统计
在.vuepress中找到plugins.js
其中会自带百度统计的插件
  [
    'vuepress-plugin-baidu-tongji', // 百度统计
    {
      hm: 'eb72710daa92c************',
    },
  ],
2
3
4
5
6
- 访问百度统计 (opens new window),添加你的网站
- 完成验证。复制此处的hm码替换到上述plugins.js中的代码

完成验证后,即可在百度统计页面看到你的网站的pvuv情况